
How We Build Your Pool: Our 15 Steps | PCS Pools
PCS Pools logo

How we build your pool: our 15 steps

Every PCS pool follows the same 15 steps, from site survey to handover. Most pools are completed in 8-12 weeks after receipt of permit (permit approval time is separate); weather and custom requests can affect timing. Typical start is after permits are approved.
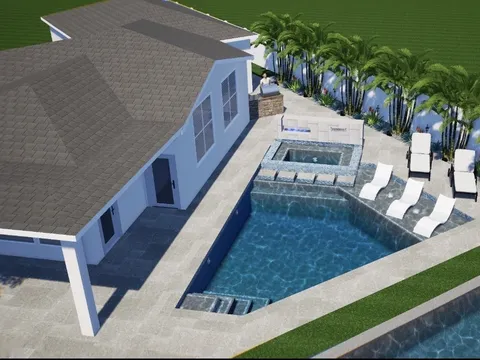
  1. Step 1: 3D design of a pool and spa beside a home, made during the site survey and design stepStep 1: Site survey and 3D pool designWe measure your yard and design your pool in 3D.
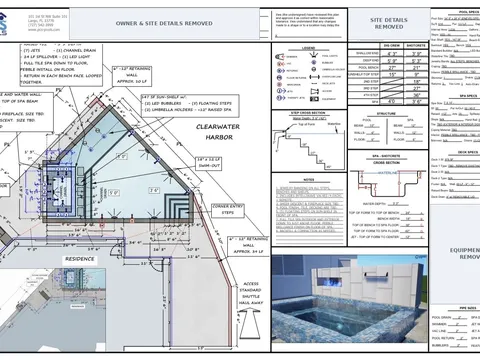
  2. Step 2: Construction plan sheet for a PCS pool prepared for the permit submissionStep 2: Prepare construction plans and submit for permitWe draw the plans and file for your permit.
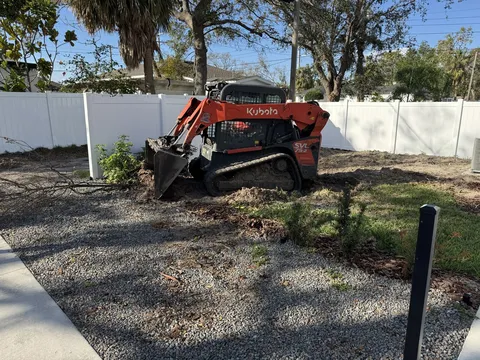
  3. Step 3: Compact track loader clearing a backyard during site prepStep 3: Site prep and stage materialsWe clear the site and bring in materials.
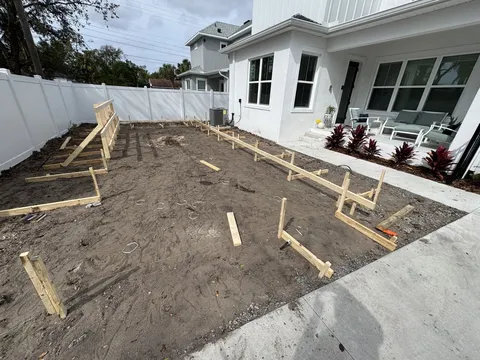
  4. Step 4: Wooden stakes and forms marking the pool layout in a cleared backyardStep 4: LayoutWe mark the exact shape of your pool.
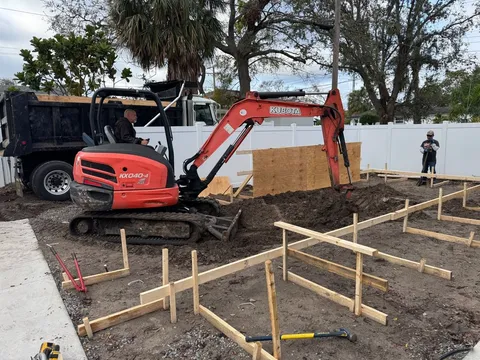
  5. Step 5: Excavator digging the pool next to the staked layoutStep 5: DigWe excavate to the planned shape and depth.
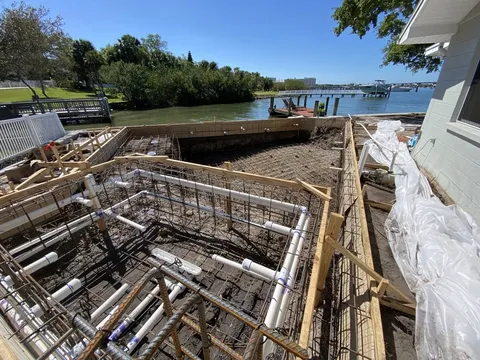
  6. Step 6: Steel rebar and rough plumbing set in the excavated pool on a waterfront lotStep 6: Steel and rough plumbWe tie the steel and run the main plumbing.
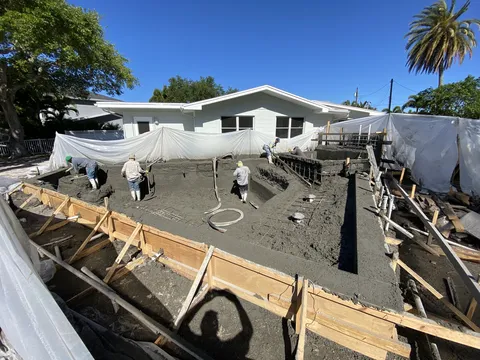
  7. Step 7: Crew spraying Shotcrete over the steel to form the pool shellStep 7: Pool shell with ShotcreteWe spray concrete over the steel to form the shell.
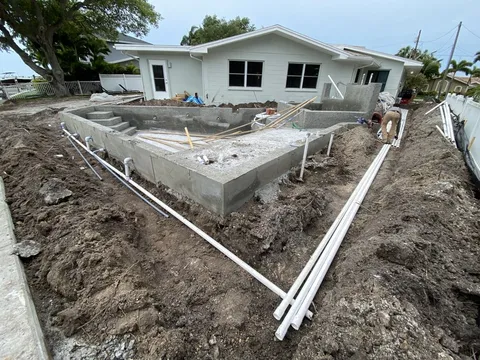
  8. Step 8: Plumbing pipes run from the finished pool shell toward the equipment areaStep 8: Plumbing installationWe connect the pipes to and from the equipment.
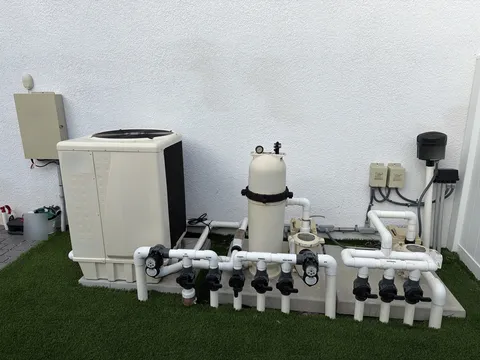
  9. Step 9: Pump, filter, heater and valves installed on the pool equipment padStep 9: Install pool equipmentWe set the pump, filter and equipment on its pad.
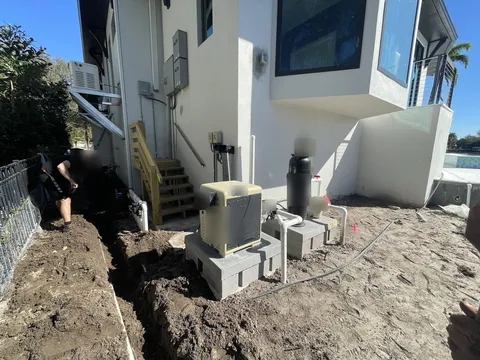
  10. Step 10: Electrical trench and equipment beside a home during electrical installationStep 10: Electrical installationWe wire the equipment and bond the pool for safety.
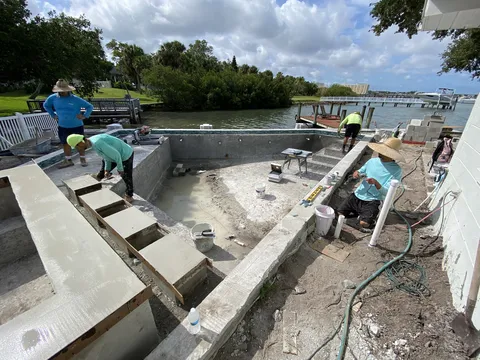
  11. Step 11: Crew setting tile and coping on a waterfront poolStep 11: Tile and copingWe set the waterline tile and the edge coping.
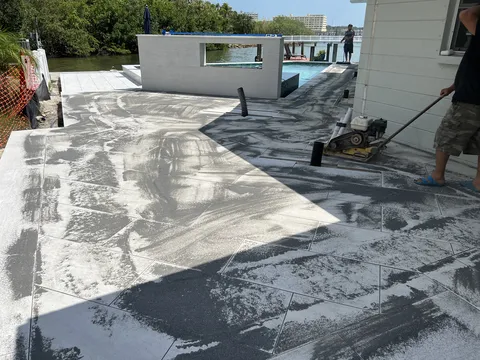
  12. Step 12: Crew installing the deck around a poolStep 12: Deck installationWe install the deck around your pool.
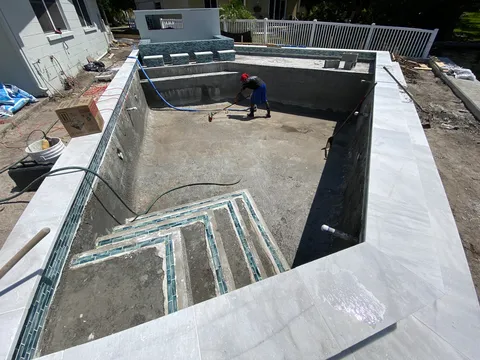
  13. Step 13: Pool shell being prepped for the Pebblesheen interior finishStep 13: Prep pool and install Pebblesheen interiorWe prep the shell and apply the smooth Pebblesheen finish.
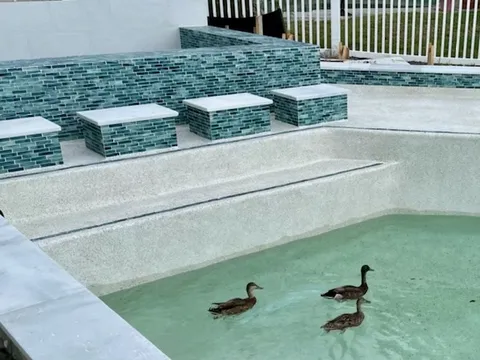
  14. Step 14: Pool filled with water after start up, with ducks swimming in itStep 14: Fill pool and start upWe fill the pool, start the equipment and balance the water.
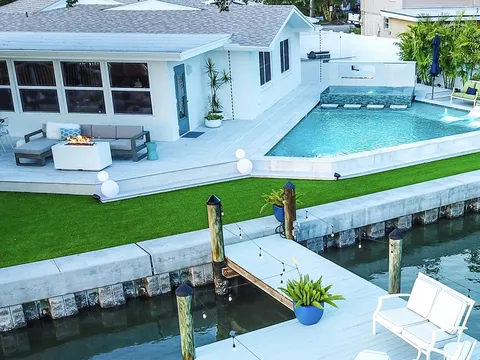
  15. Step 15: Finished waterfront pool and spa with patio seatingStep 15: Provide pool operation training and handover to happy customerWe show you how to run your pool, and it's all yours.

Owner David Palmer is a licensed Florida pool and spa contractor (CPC1460402). Our team walks you through material choices, construction timelines, and finishing options with consistent updates along the way.

Get My Free 3D Design & Fixed Quote

Free 3D design, a fixed quote with no surprise costs, and pools are typically completed in 8-12 weeks after receipt of permit.

See materials, samples and your 3D design in person at our Largo showroom.

Where will the pool be built?
Add details for a faster, more accurate quote (optional)
Features you want

Curious about payments? Calculate your monthly payment

By submitting you agree to be contacted about your project. See our privacy policy. Prefer to talk? (727) 609-8089

PCS Pools · Certified Pool/Spa Contractor, License #CPC1460402 · David Palmer, license holder

Ready for your dream pool?

You can get one of our award-winning pools for under $400 per month through our financing partner, Lyon Financial* · free design consult

*Subject to credit approval. Financing through Lyon Financial. Terms, rates & qualifications vary. No money down for qualified buyers.

Free 3D Design & Fixed Quote📞